IKEA NORNÄS Makeover: From Basic to Beautiful
- Dec 28, 2025
- 4 min read
Updated: Mar 2

This post contains affiliate links. I may earn a small commission at no extra cost to you.
Make suree to check out my othere DIY furniture makeover DIY IKEA Malm Nightstand Makeover: Transform Plain Furniture Into Chic, Custom Pieces as well as What We Love Most About Our Renovated RV
Why We Decided to Update This Piece
The IKEA NORNÄS line was a pine furniture collection that was discontinued in 2017.
I bought this piece in 2015, when I was living in a small one-bedroom apartment. I was drawn to it because it’s lightweight enough for me to move on my own, has a simple, timeless design, and is made of real wood — which means it can actually be repaired if something breaks.
In 2016, I decided to stain it and, in hindsight, made every beginner mistake possible. I skipped the wood conditioner, which resulted in a blotchy, uneven finish that I never really loved. This year, I finally decided to redo the piece — and this time, I skipped staining altogether to avoid the tedious sanding that comes with trying to correct a bad stain job.
I kept it in my bedroom for a while, storing linen. Then, for the rest of the time, it was a TV stand - turned out to be the perfect height for it. Honestly, I needed to fix the blotchy finish and it needed to be redone completely.
Our Vision for the Makeover
Warm, timeless, and cohesive. I wanted this piece to work with our future home’s colour palette (more on that later), with the flexibility to use it again as a TV stand or eventually in a guest bedroom.
The Makeover Process
Step 1: Prep Work
Because the unit had been sitting in storage for quite some time, it needed a thorough clean before anything else. I wiped it down completely using an all-purpose cleaner and a microfiber cloth to remove dust and grime.
Next came sanding. I sanded the entire piece to remove the old stain and to smooth out scuffs and wear on the sides. This step makes a huge difference in the final result.
For primer, I used Zinsser BIN Shellac Primer. It’s my go-to for IKEA furniture and any surface with a glossy finish because it adheres extremely well and blocks stains.
Why prep matters more than paint: If the surface isn’t smooth, the paint won’t look good—no matter how high quality it is. Paint can’t hide dents, fill holes, or even out uneven wood. Taking the time to prep properly ensures a smooth, professional-looking finish.

Big transformation with a simple sanding

A bench in rough shape and dire need of TLC
Step 2: Painting or Refinishing
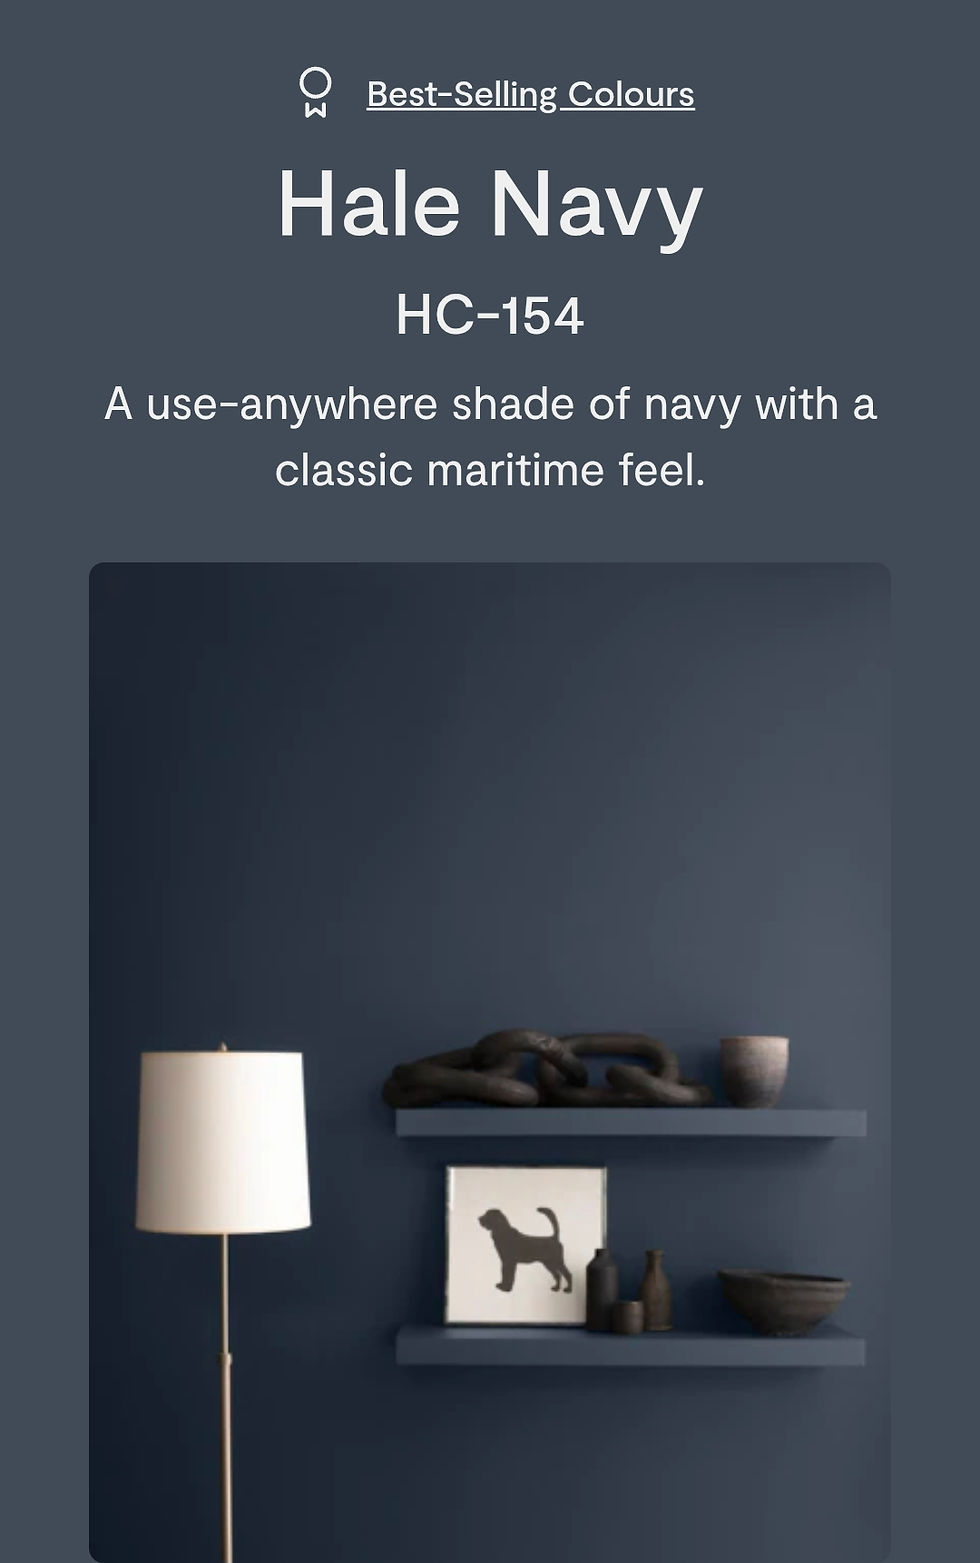
I chose Hale Navy by Benjamin Moore for this IKEA NORNÄS makeover. We typically use Sherwin-Williams products, but I couldn’t find a true equivalent to this shade in their lineup. Hale Navy stood out for its timeless, classic appeal and rich depth.
I’m also a big fan of the Revere Pewter and White Dove color combination (both by Benjamin Moore), and Hale Navy works beautifully as a complementary color within that palette.
I applied three coats using Benjamin Moore Advance® Interior Paint in a Pearl finish. This alkyd-based paint is specifically designed for cabinets, doors, and trim, making it a durable and smooth choice for furniture that gets regular use.
Step 3: Small Changes That Made a Big Difference
We also swapped out the original feet for 4-inch furniture legs to give the piece a more custom, elevated look. This small change made a surprisingly big impact, instantly modernizing the bench and helping it feel more intentional rather than “off-the-shelf.”
Installation was straightforward—just a drill and a few minutes—and the added height also makes the piece feel lighter and less bulky in the room.
The Final Result: IKEA NORNÄS Makeover
This NORNÄS storage bench looks completely transformed after just a few days of work. The paint finish is smooth and refined, and the gold legs elevate the piece—both literally and visually—while complementing the depth of the Hale Navy beautifully.
Instead of feeling like just another DIY project, it now feels like a statement piece—something I’m proud to feature rather than tuck away. I’m excited to see how it will fit into our next home and where it will end up living long-term.
Why Simple Furniture Makeovers Are Worth It
Simple furniture makeovers are worth the effort because they’re cost-effective, sustainable, and practical. Updating an existing piece allows it to evolve with your home and changing style, without replacing furniture that’s still solid and functional. Instead of buying new, a few thoughtful changes can extend the life of what you already own—and make it feel intentional again.
Final Thoughts
You don’t need brand-new furniture to refresh a space. A few intentional updates can completely change how a piece feels and how it fits into your home. If you’ve been on the fence about a makeover, start small—one piece, one change—and build from there.


